Commentary:
I played a little bit of BTD 6 but I mainly played BTD5 a lot.... that means I have not really used this monkey in game. I have used the 0-4-0 ninja monkey a lot so I assume that this monkey is just a 0-4-0 ninja monkey on steroids. A monkey to slow down M.O.A.Bs, B.F.Bs, ZOMGs, and D.D.Ts. and provide adequate bloon popping power below. If I am using this tower wrong I would like to know how to properly use it.
Model Details:
Pages: 3
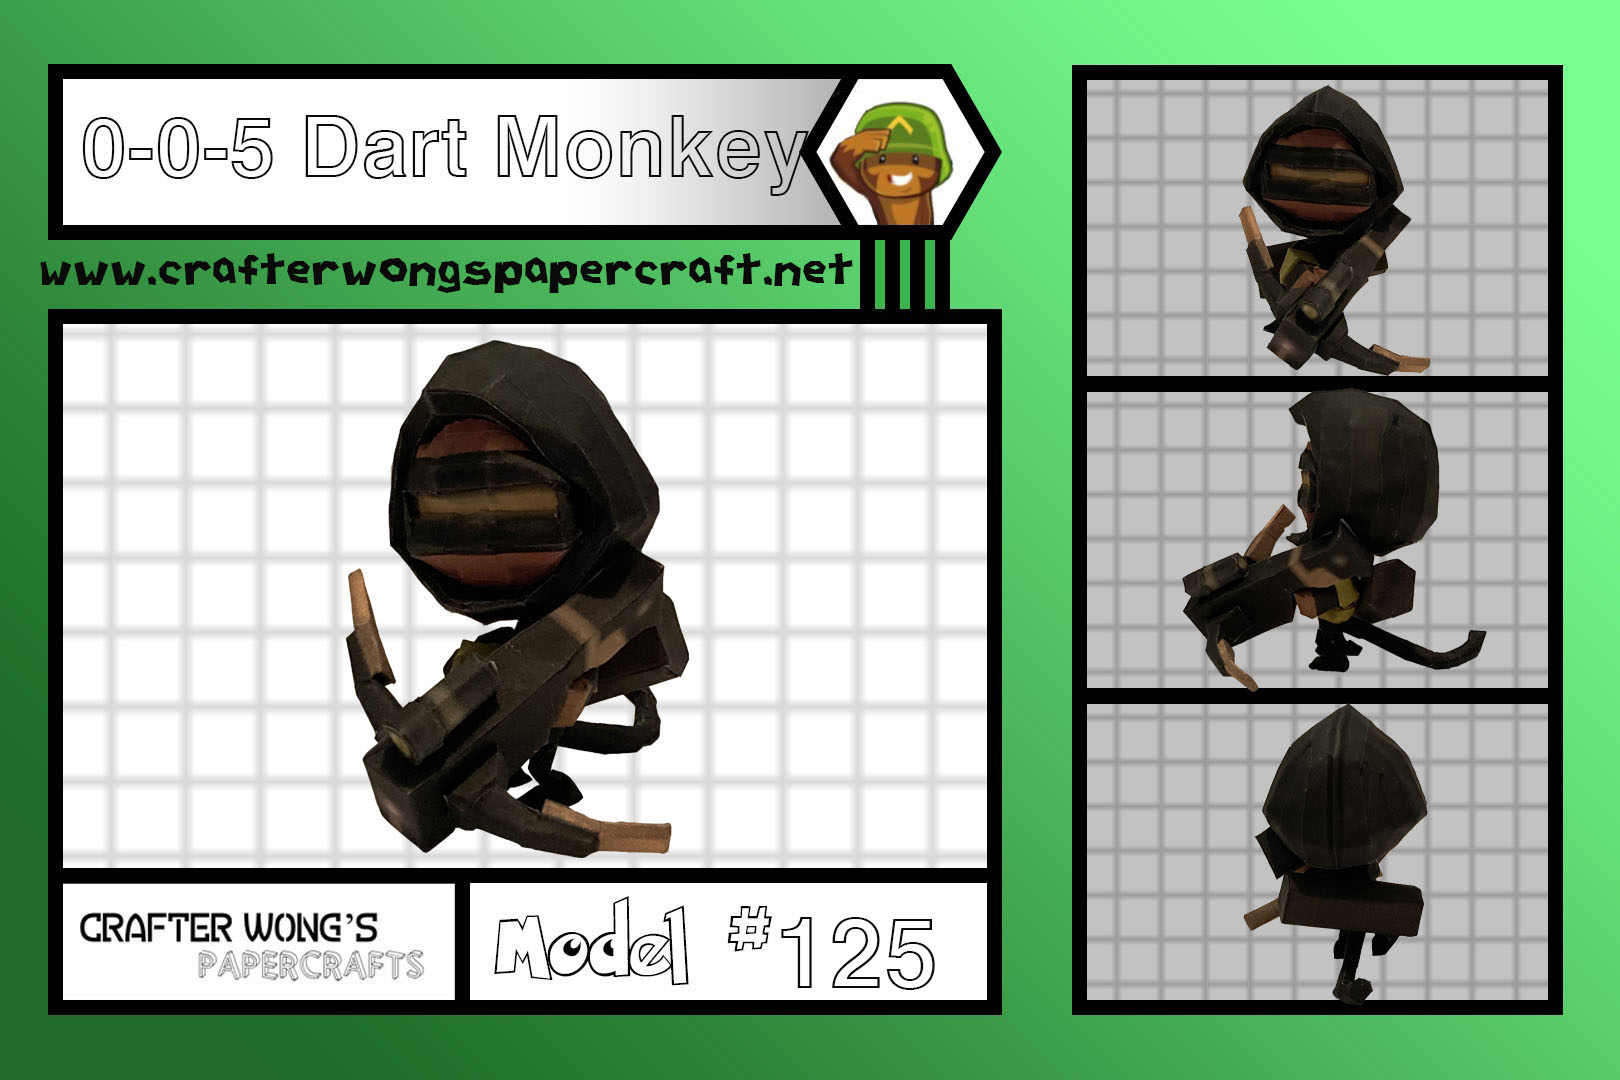
Height: 2.75 in / 6.99 cm
Width: 2.88 in / 7.32 cm
Depth: 2.50 in / 6.35 cm
Notes: So... this model is not easy. I will try to be as descriptive as possible when providing the instructions for this model. If you have questions feel free to put them in the comment section below. Now let's begin. First, I built the head. When building the head build the front part of the head then build the back part of the head but DO NOT close the back part of the head. Attach both pieces like seen below so that there is no gaps between the front and back of the head.
Next, build the ears and place them in the general area in which they are in the model. It is up to you whether or not you want to shorten the ears by trimming them. After that use the ears as a guideline to attach the grey/black band that covers goes across the face of the monkey. You will need to free hand glue it and the angle of the band is up to you.
Once you glue the band half way around, close the head and then glue the rest of the headband to the head. It is up to you whether you want to build the tie (I personally did not build the circular portion of the tie in the headband and would recommend building the tie before closing the model)
Once the model is closed. Build the orange piece and free hand glue it to the back of the head.
If you have built any of my previous models, building the body is the same as the others. If you have not built any of my other models (go build them but.....), build the body from the top down, and attach the arms as you build down. Then, free hand glue the legs to the body in which the legs just cover the square in which it is suppose to be. I put cut up eraser pieces in the feet but I don't know how much use they were in keep the model standing. For this model in specific, attach the bag pack and then use the tail to create a tripod with the legs to allow the model to stand by itself. Attaching the tail is the last thing you should attach to the model.
Accessories:
When building the backpack the rings do not go all the way around. Therefore, you will have to print an extra page and cut a small square out of the rings the same width as the other rings and then free hand glue it on the back of the ring so that it can wrap around the entire backpack. Hopefully, I explained that well enough, but here is the picture (the white circled part).
When making the fan YOU DO NOT have to cut all the little piece, I just cut them in a way where the fan in symmetrical so you can fold it on itself and then just glue the white side. I did not use any tabs it is up to you if you want to use them
When making the waist band, do not cut the circle part of the waist band and do not cut the tabs just cut the black rectangle and attach the black squares to the black rectangle and then attach the waist band around the body
For the "X" on the body, place the two part of X together but do not glue them together, see if the x-fits snuggly around the body. If so glue them in the fashion you made it. If not you will need to cut one of the x-pieces into two, trim them, and glue them on opposites of the other piece and see if it fits snuggly. Keep playing with the x until it looks nice.
Besides that, I hope you enjoy building and I hope my instructions are adequate enough to understand how to build it. If you have any question post them down below and I hope you stay tuned😁.