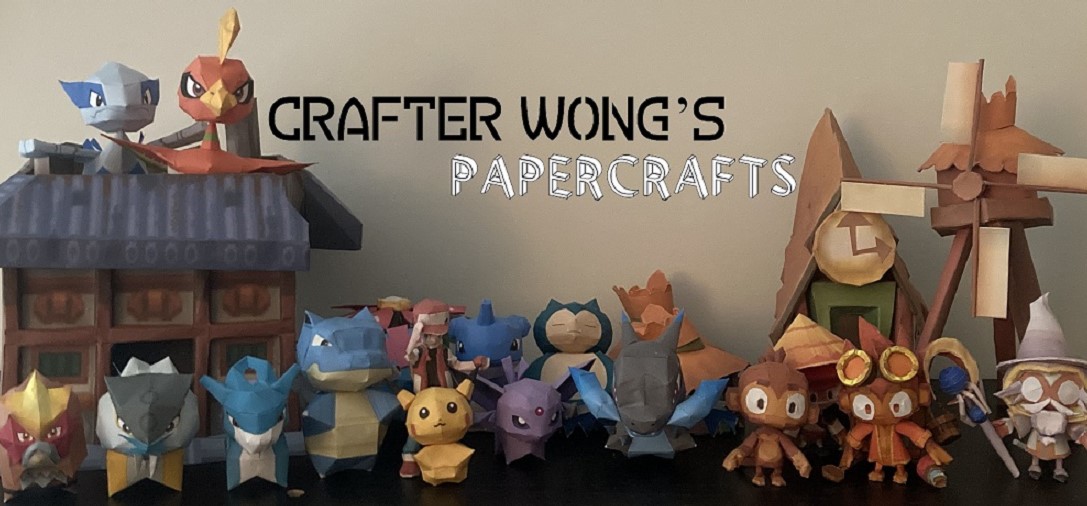
So I am making this page to help beginners learn how to make the craft as I probably spent weeks or maybe even years on how to properly make papercrafts. If you just want the 3D model click the 3D Model link and if you just want the paper templates click the templates links.
Regardless of what file you download you will have to open rar. files. The two links below are reliable sites in which I have used both to open rar:
Winrar - If you want to you can buy the full version, but the free version works just as well
Frog Extract - I used to for the longest time and works perfectly fine
3D Models and 3D Printing
I have placed the 3D model in the link known as 3D model (self-explanatory). In each file I have included the obj. and mtl files as well as the textures. All 3D models I have released I have personally ripped and I am fine with people using them for their personal projects. If you plan to use the models for a product or for commercial use please contact me to negotiate something out.
I have not tried 3D printing these models as I do not have access to a 3D printer. If anyone is willing to attempt to print a model and find a successful process in printing the models please comment on this page or email me at hi123456788910@gmail.com to inform others how to perform the task so I can edit the old files so they can be easily printed. I assume that in order to successfully print the models you would have to scale the model to your desired build and then convert the obj to an stl file.
Papercraft Building
So you are new to papercrafting, what do you need to know? Well first off you need materials. I personally use safety scissors, Elmer's school glue, and a toothpick (to control the amount of glue that goes on the tab) to build, but you can use any other shearing tool or adhesive you are comfortable with. I just preferable using cheap materials. For the templates you can use any color printer and normal printer paper.
After you have downloaded the templates link, you will see two different file types a pdf. and a pdo. To open the Pdf you will need any pdf opener such as Adobe. The most important file is the pdo one. You will need this specific program to open it and I do not believe there is a better alternative. The program is called Pepakura viewer. Despite saying it costs 15 dollars for a licenses, you are just downloading the viewer so it is free. I have used this program for many, many years and is very reliable.
When you open the program and the model you want to make you will get a screen that looks like this:


Enjoy Building😃!
Regardless of what file you download you will have to open rar. files. The two links below are reliable sites in which I have used both to open rar:
Winrar - If you want to you can buy the full version, but the free version works just as well
Frog Extract - I used to for the longest time and works perfectly fine
3D Models and 3D Printing
I have placed the 3D model in the link known as 3D model (self-explanatory). In each file I have included the obj. and mtl files as well as the textures. All 3D models I have released I have personally ripped and I am fine with people using them for their personal projects. If you plan to use the models for a product or for commercial use please contact me to negotiate something out.
I have not tried 3D printing these models as I do not have access to a 3D printer. If anyone is willing to attempt to print a model and find a successful process in printing the models please comment on this page or email me at hi123456788910@gmail.com to inform others how to perform the task so I can edit the old files so they can be easily printed. I assume that in order to successfully print the models you would have to scale the model to your desired build and then convert the obj to an stl file.
Papercraft Building
So you are new to papercrafting, what do you need to know? Well first off you need materials. I personally use safety scissors, Elmer's school glue, and a toothpick (to control the amount of glue that goes on the tab) to build, but you can use any other shearing tool or adhesive you are comfortable with. I just preferable using cheap materials. For the templates you can use any color printer and normal printer paper.
After you have downloaded the templates link, you will see two different file types a pdf. and a pdo. To open the Pdf you will need any pdf opener such as Adobe. The most important file is the pdo one. You will need this specific program to open it and I do not believe there is a better alternative. The program is called Pepakura viewer. Despite saying it costs 15 dollars for a licenses, you are just downloading the viewer so it is free. I have used this program for many, many years and is very reliable.
When you open the program and the model you want to make you will get a screen that looks like this:

When you click on a piece the location of the piece on the model will appear:

When you click on a tab it will show where the pieces connect. When connecting the tab to the piece place the tab underneath the non-tab section with a small amount of glue on and apply some pressure so the two pieces stick.

When finishing the a major piece, like the head or body, you will realize that the model is difficult to "close" or complete. For my models I have created a piece that is designed to be attached last. These pieces do not have tabs and can be attach with minimal pressure to the build.
The boxed piece is the piece you would close the head with as an example.

Sometimes two pieces do not connect through tabs and appear as red lines on the model. Unless I state in the model notes that the red lines actually connect assume that you will have to attach the piece to the model just by gluing the piece straight on to another. As seen in the example the spike on Lucario's chest has red lines on it therefore the spike will just be attached straight to the body without tabs. Sometimes the piece hovers around where the two pieces should be attached without red lines and should attach to the given location anyway (for the example the spikes on Lucarios hands).

Two of the Pdfs are lined and the other two are lineless. The lines represent where the model in which the piece should be folded. Personally I only fold the pieces with they are spikes are suppose to look jagged. But anyways... you cut on the solid black lines, the dotted lines represents a mountain fold (the piece should look like a mountain after the fold occurs) and the alternating length dotted lines represent valley folds (the piece should create a V when the fold occurs).
Besides that I think have covered everything if I have missed something please let me know on the comments below. If you need specific help on a model comment it on the that given model so other people who might have the same problem may receive the answer.
-Crafter Wong
Thank you for this guide! these are really cute and seem easy to make! Gonna make a Latios and Garchomp :)
ReplyDeleteHello. Do you sell these papercrafts? I would like to purchase the dart monkey.
ReplyDelete